A border is an area of planting along the edge (or border!) of a lawn in a garden. A flower bed is a similar area but often in a standalone position in the middle of the lawn.
If you would like to convert some of your existing lawn areas into a bed or a border, there are a few steps you need to take to prevent the lawn making a comeback and to condition the soil to set it up for the best chance of success.
There are a couple of approaches to this task. One is a ‘no-dig’ system. There are plenty of advantages to this approach – not least the no digging! However, be aware that you need to have planned it in advance as it can take as long as a year for the grass to die back sufficiently to plant up and you may need a lot of compost or topsoil depending on the size of planted area you creating.
We created our border in Autumn and wanted to plant it up straight away so this ‘double-dig’ system suited us. It can be planted immediately and requires nothing only a spade and the proverbial elbow grease.
Step 1 Plan your outline
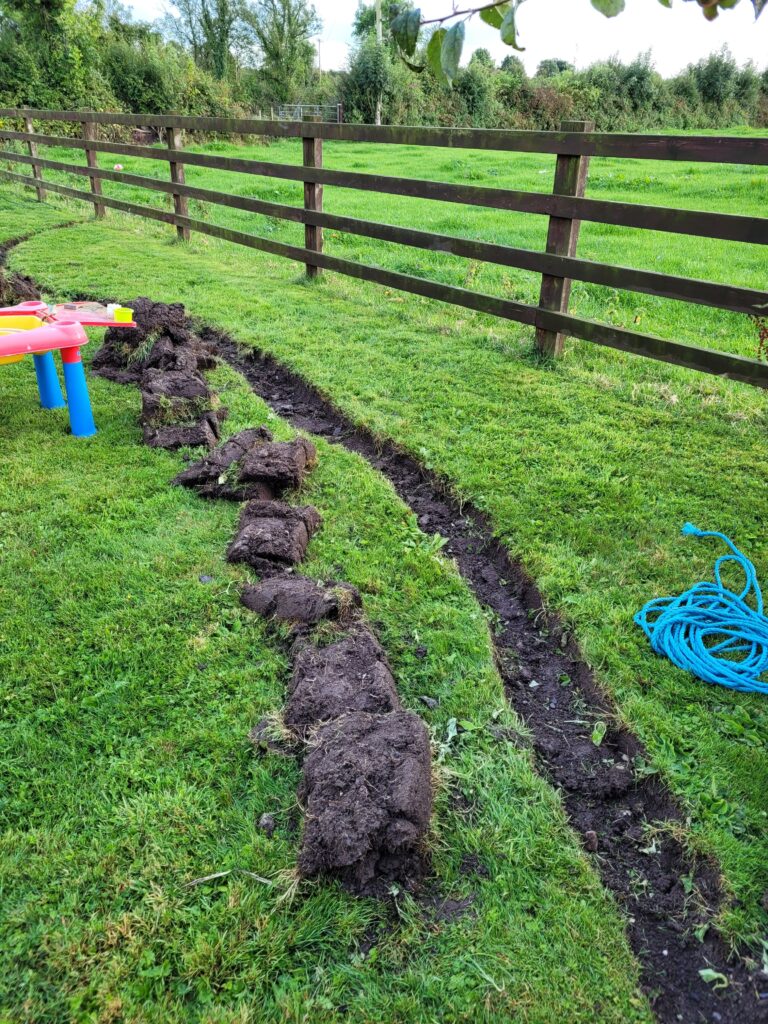
There is special spray paint you can use to paint the outline of your border on your lawn. For this method, you need a steady hand and decisive approach. I have neither, so instead rely on my trusty blue rope. I lay it out where I think I want it and then go and view it from upstairs and any other angle I can see. It is easy to reposition and its blue colour is easy to see from the distance.
It’s a good idea to make a border at least one meter deep to allow your plants develop in time. A wavy, non-symmetrical, organic line is a much easier shape to maintain in the long-run. Straight lines are difficult to get right at the start and harder to maintain.
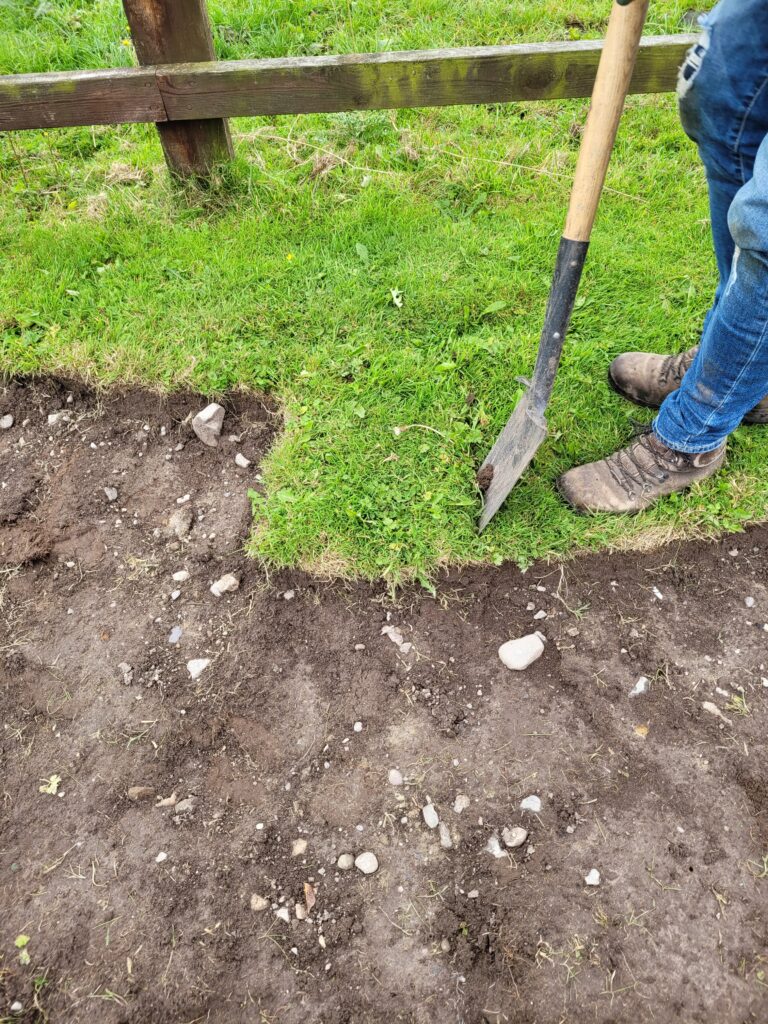
Step 2 Dig the Outline
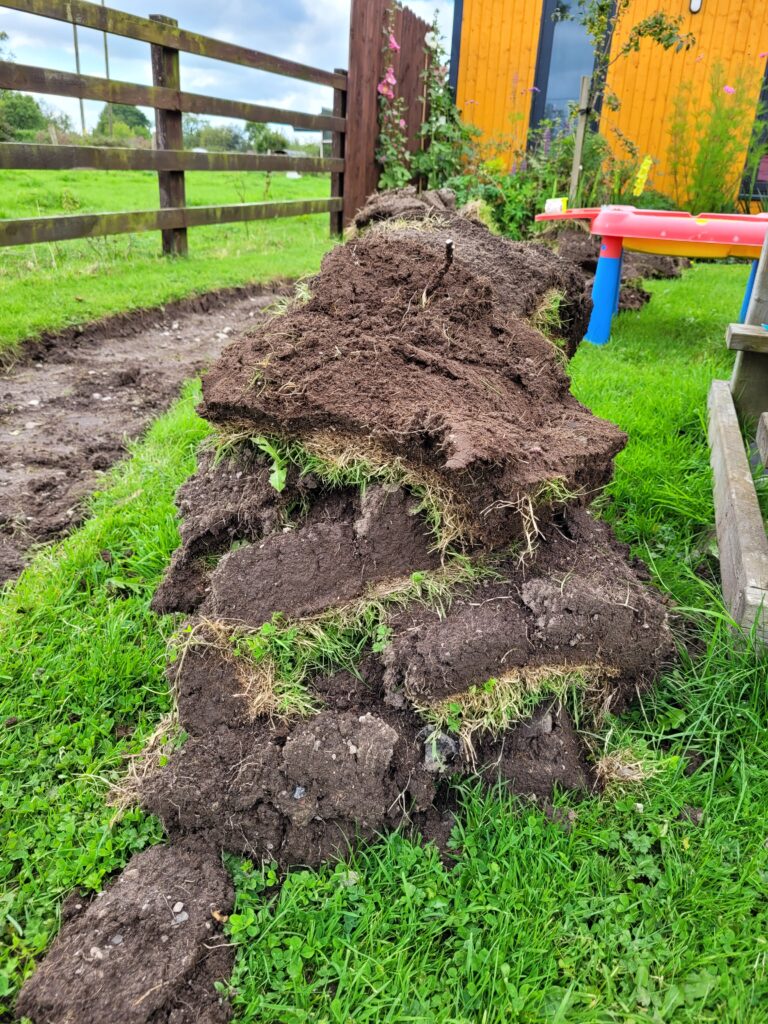
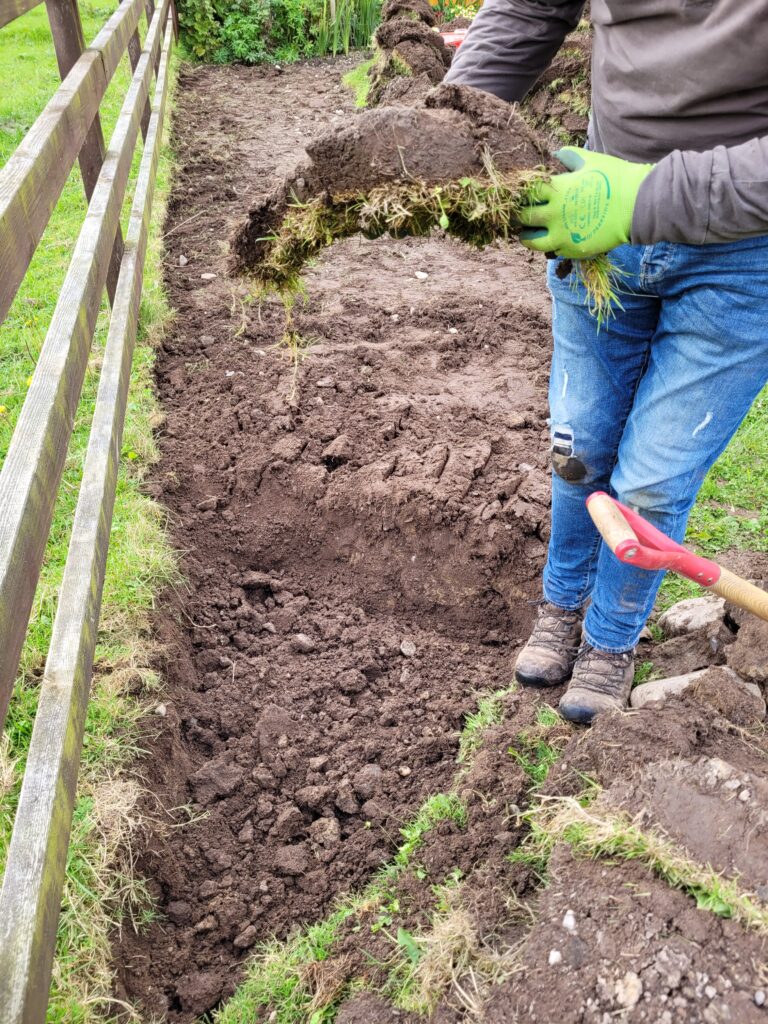
Dig the outline of your border along your rope or painted line by creating a strip a couple of spade-widths wide. The outline strip is created one square at a time by inserting the spade into the turf Insert the spade in along all four sides of the square you are going to remove, then push the blade of the spade under the turf about 5-10cm beneath the surface and leverage the square of turf, including the roots, off. These squares are stacked for use once all the digging is done.
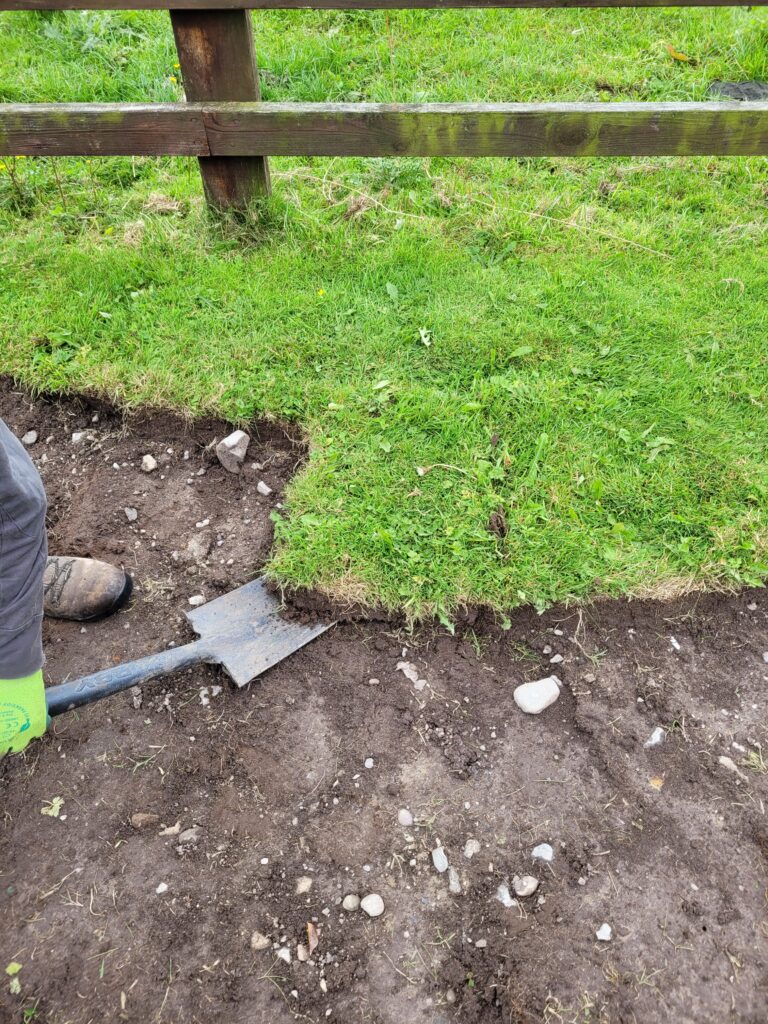
Step 3 Remove the Rest of the Turf
Using the same method as in step 2, remove the rest of the turf in squares and stack to the side.
Step 4 Start Double-Digging
At one end of your border, dig down approximately two spade-depths from the surface across the width of the border and remove this soil to a wheelbarrow or trough as we will use it later.

Step 5 Line the Bottom with Turf
Place square turf sods removed from the top already upside down at the bottom of the row you have just dug down.
Step 6 Start the Second Row
Dig your second row two spade-depths deep as you already did for the first rwo. On this occasion, the soil is placed on top of the upside-down turf squares in row 1.
So the soil dug from row two becomes the new topsoil for row 1.
Then line row two with upside down turf squares.
Step 6 Dig Row 3 and Onwards
Continue to dig row 3 in the same way, place the soil from row 3 on top of the upside-down turf in row two. Continue this process to the last row.
Step 7 The Final Row
When you reach the final row, you can place the soil from row 1 (stored in the wheelbarrow) on top of upturned sods at the bottom of the final row.
And that’s it! A new bed or border is yours and is ready to plant up straight away.
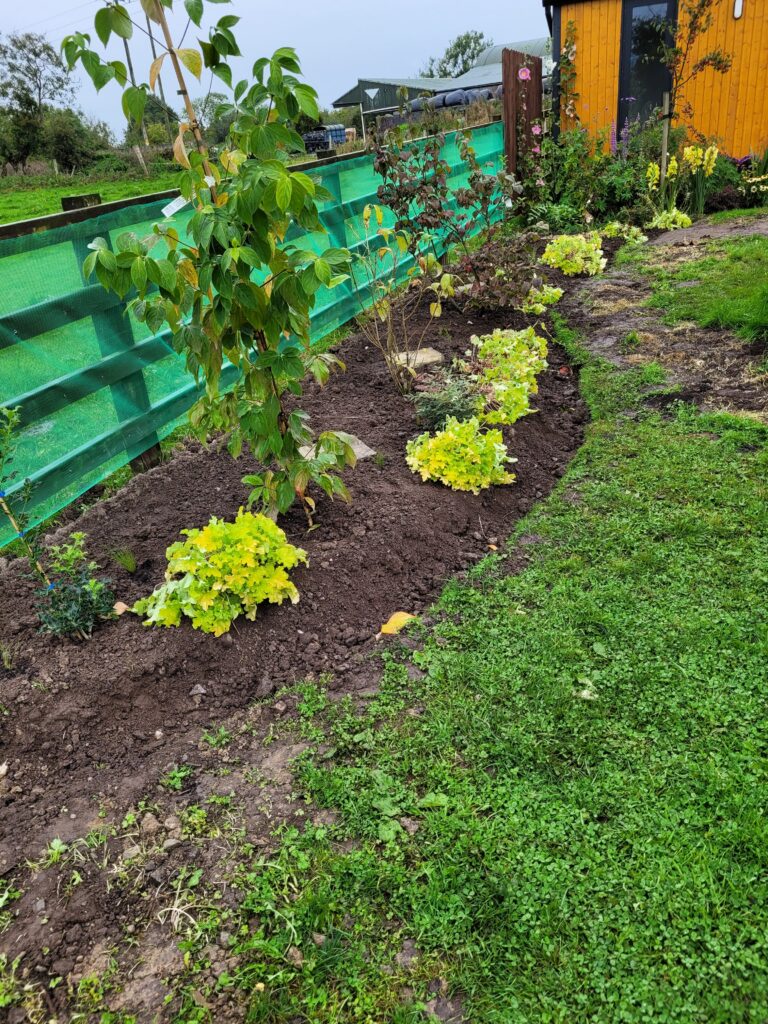
A couple of final points. As you were digging you have an opportunity to assess your soil condition. Where the soil is very clay-like, sand can be added and in all cases, some well-rotted manure or compost will be a good but non-essential addition.
You are likely to find that you have spare turf sods at the end. These can be stacked upside on top of each other somewhere out of site and after six months or a year, the grass will break down and you have fantastic quality topsoil for topping up beds etc.